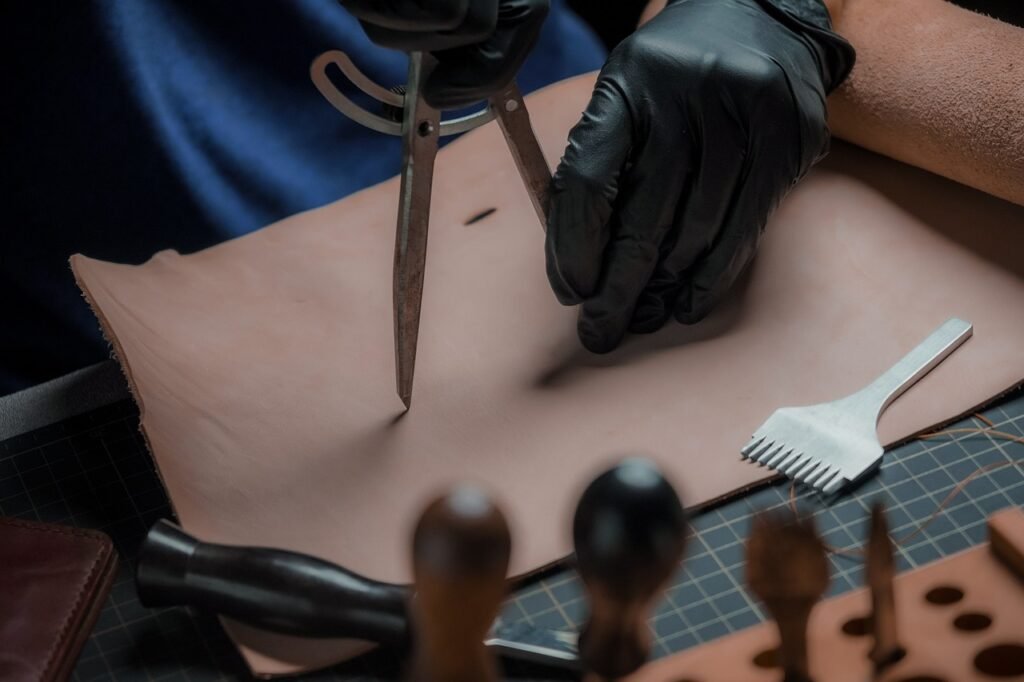
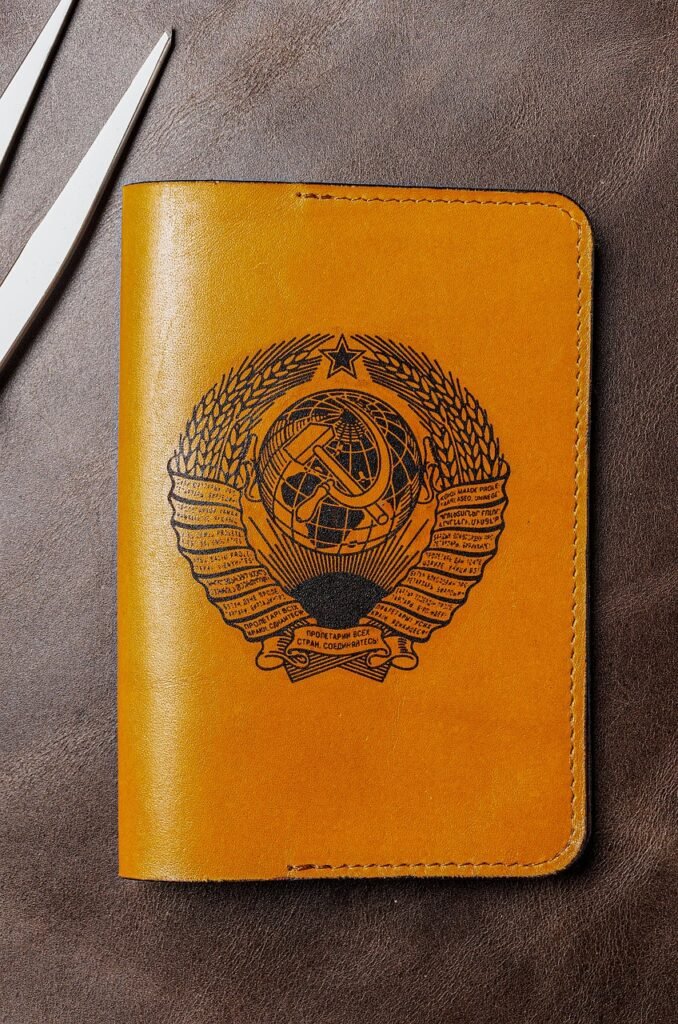
Welcome to the world of leather wallet repair! In this article, you will discover a variety of effective DIY methods to fix up your favorite leather wallet. From using leather conditioning products to simple stitching techniques, you will learn how to breathe new life into your worn-out wallet. Say goodbye to cracks, scratches, and tears, and hello to a beautifully restored accessory that will last for years to come. So roll up your sleeves, grab your tools, and let’s get started on reviving your beloved leather wallet! Have you ever experienced the frustration of finding your favorite leather wallet damaged or worn out? Instead of throwing it away and spending money on a new one, why not try some effective DIY repair methods to bring it back to life? In this article, we will walk you through step-by-step instructions on how to repair your leather wallet using simple tools and materials that you can easily find at home. Let’s get started!

This image is property of pixabay.com.
Assessing the Damage
Before you dive into repairing your leather wallet, it’s essential to assess the extent of the damage. Take a close look at your wallet and identify any scratches, scuffs, stains, or tears. Understanding the condition of your wallet will help you determine the appropriate repair method to use.
What to Look For
Check for any loose stitches, cracks in the leather, discoloration, or worn-out edges. These are common issues that can be easily fixed with the right techniques. Knowing what to look for will guide you in choosing the right tools and materials for the repair.
Cleaning the Leather
One of the first steps in repairing a leather wallet is to clean the surface thoroughly. Dirt, oils, and grime can build up over time and dull the appearance of the leather. To clean your wallet, you will need a mild soap, warm water, a soft cloth, and a leather conditioner.
Step-by-Step Cleaning Process
- Mix a small amount of mild soap with warm water.
- Dip a soft cloth into the soapy water and wring out any excess moisture.
- Gently wipe the surface of the leather wallet in a circular motion to remove dirt and grime.
- Rinse the cloth with clean water and wipe off any soap residue.
- Allow the wallet to air dry completely before proceeding to the next step.
- Once the wallet is dry, apply a small amount of leather conditioner to keep the leather soft and supple.
Cleaning the leather will not only improve the appearance of your wallet but also prepare the surface for any repairs that need to be done.

This image is property of pixabay.com.
Repairing Small Scratches and Scuffs
Small scratches and scuffs are common issues that can detract from the overall look of your leather wallet. Fortunately, these minor damages can be easily repaired with a few simple DIY techniques.
Materials Needed
- Sandpaper (fine grit)
- Leather dye or marker
- Leather sealant
Step-by-Step Repair Process
- Gently sand the scratched or scuffed area with fine-grit sandpaper to smooth out the surface.
- Use a leather dye or marker that matches the color of your wallet to cover up the scratches.
- Allow the dye to dry completely before applying a leather sealant to protect the repaired area.
- Buff the repaired area with a soft cloth to blend it seamlessly with the rest of the wallet.
By following these steps, you can easily repair small scratches and scuffs on your leather wallet and restore its original appearance.
Fixing Tears and Rips
Tears and rips in your leather wallet can be more challenging to repair, but with the right tools and techniques, you can mend them effectively.
Materials Needed
- Leather glue
- Leather patch or fabric
- Toothpick or cotton swab
Step-by-Step Repair Process
- Clean the torn area with a damp cloth to remove any dirt or debris.
- Apply a small amount of leather glue to the torn edges using a toothpick or cotton swab.
- Place a leather patch or fabric underneath the tear, making sure it overlaps the torn edges.
- Press the edges of the tear together firmly and hold them in place until the glue dries.
- Allow the repair to set for a few hours before using your wallet again.
Repairing tears and rips in your leather wallet may take some time and patience, but the results will be well worth the effort.

This image is property of pixabay.com.
Restoring Discolored Leather
Over time, the color of your leather wallet may start to fade or become discolored due to exposure to sunlight, oils, or dirt. Restoring the color of your wallet can breathe new life into it and make it look as good as new.
Materials Needed
- Leather color restorer
- Applicator sponge
- Soft cloth
Step-by-Step Restoration Process
- Apply a small amount of leather color restorer to an applicator sponge.
- Gently dab the restorer onto the discolored areas of your wallet in a circular motion.
- Continue applying the restorer until the color is evenly distributed and the desired shade is achieved.
- Allow the restorer to dry completely before buffing the wallet with a soft cloth to enhance the shine.
Restoring the color of your leather wallet will not only improve its appearance but also protect it from further damage.
Strengthening Loose Stitches
If you notice any loose stitches on your leather wallet, it’s essential to reinforce them before they unravel completely. Strengthening the stitches will prevent further damage and ensure that your wallet lasts longer.
Materials Needed
- Needle and thread
- Beeswax
- Thimble (optional)
Step-by-Step Stitching Process
- Thread a needle with a durable thread that matches the color of your wallet.
- Apply beeswax to the thread to strengthen it and prevent fraying.
- Use a thimble to protect your fingers and reinforce the loose stitches by sewing over them multiple times.
- Tie a knot at the end of the thread to secure the stitches in place.
- Trim any excess thread with scissors and press the stitches flat with your fingers to blend them with the rest of the wallet.
By reinforcing the loose stitches on your leather wallet, you can prevent further damage and extend its lifespan.
Preventing Future Damage
Once you have repaired your leather wallet, it’s essential to take preventive measures to avoid future damage and keep it looking its best for years to come.
Tips for Leather Wallet Care
- Avoid exposing your wallet to direct sunlight for extended periods.
- Store your wallet in a cool, dry place away from moisture and heat.
- Use a leather conditioner regularly to keep the leather soft and supple.
- Avoid overloading your wallet with too many cards or cash, as this can stretch the leather.
- Clean your wallet regularly to remove dirt, oils, and grime that can dull the appearance of the leather.
By following these simple care tips, you can maintain the quality and appearance of your leather wallet and prevent the need for frequent repairs.
In conclusion, repairing a leather wallet doesn’t have to be complicated or expensive. With the right tools, materials, and techniques, you can easily restore your favorite wallet to its former glory and enjoy it for years to come. Whether you’re dealing with small scratches, tears, discoloration, or loose stitches, these DIY repair methods will help you tackle any issue with confidence. So, roll up your sleeves, grab your tools, and give your leather wallet the care and attention it deserves!
